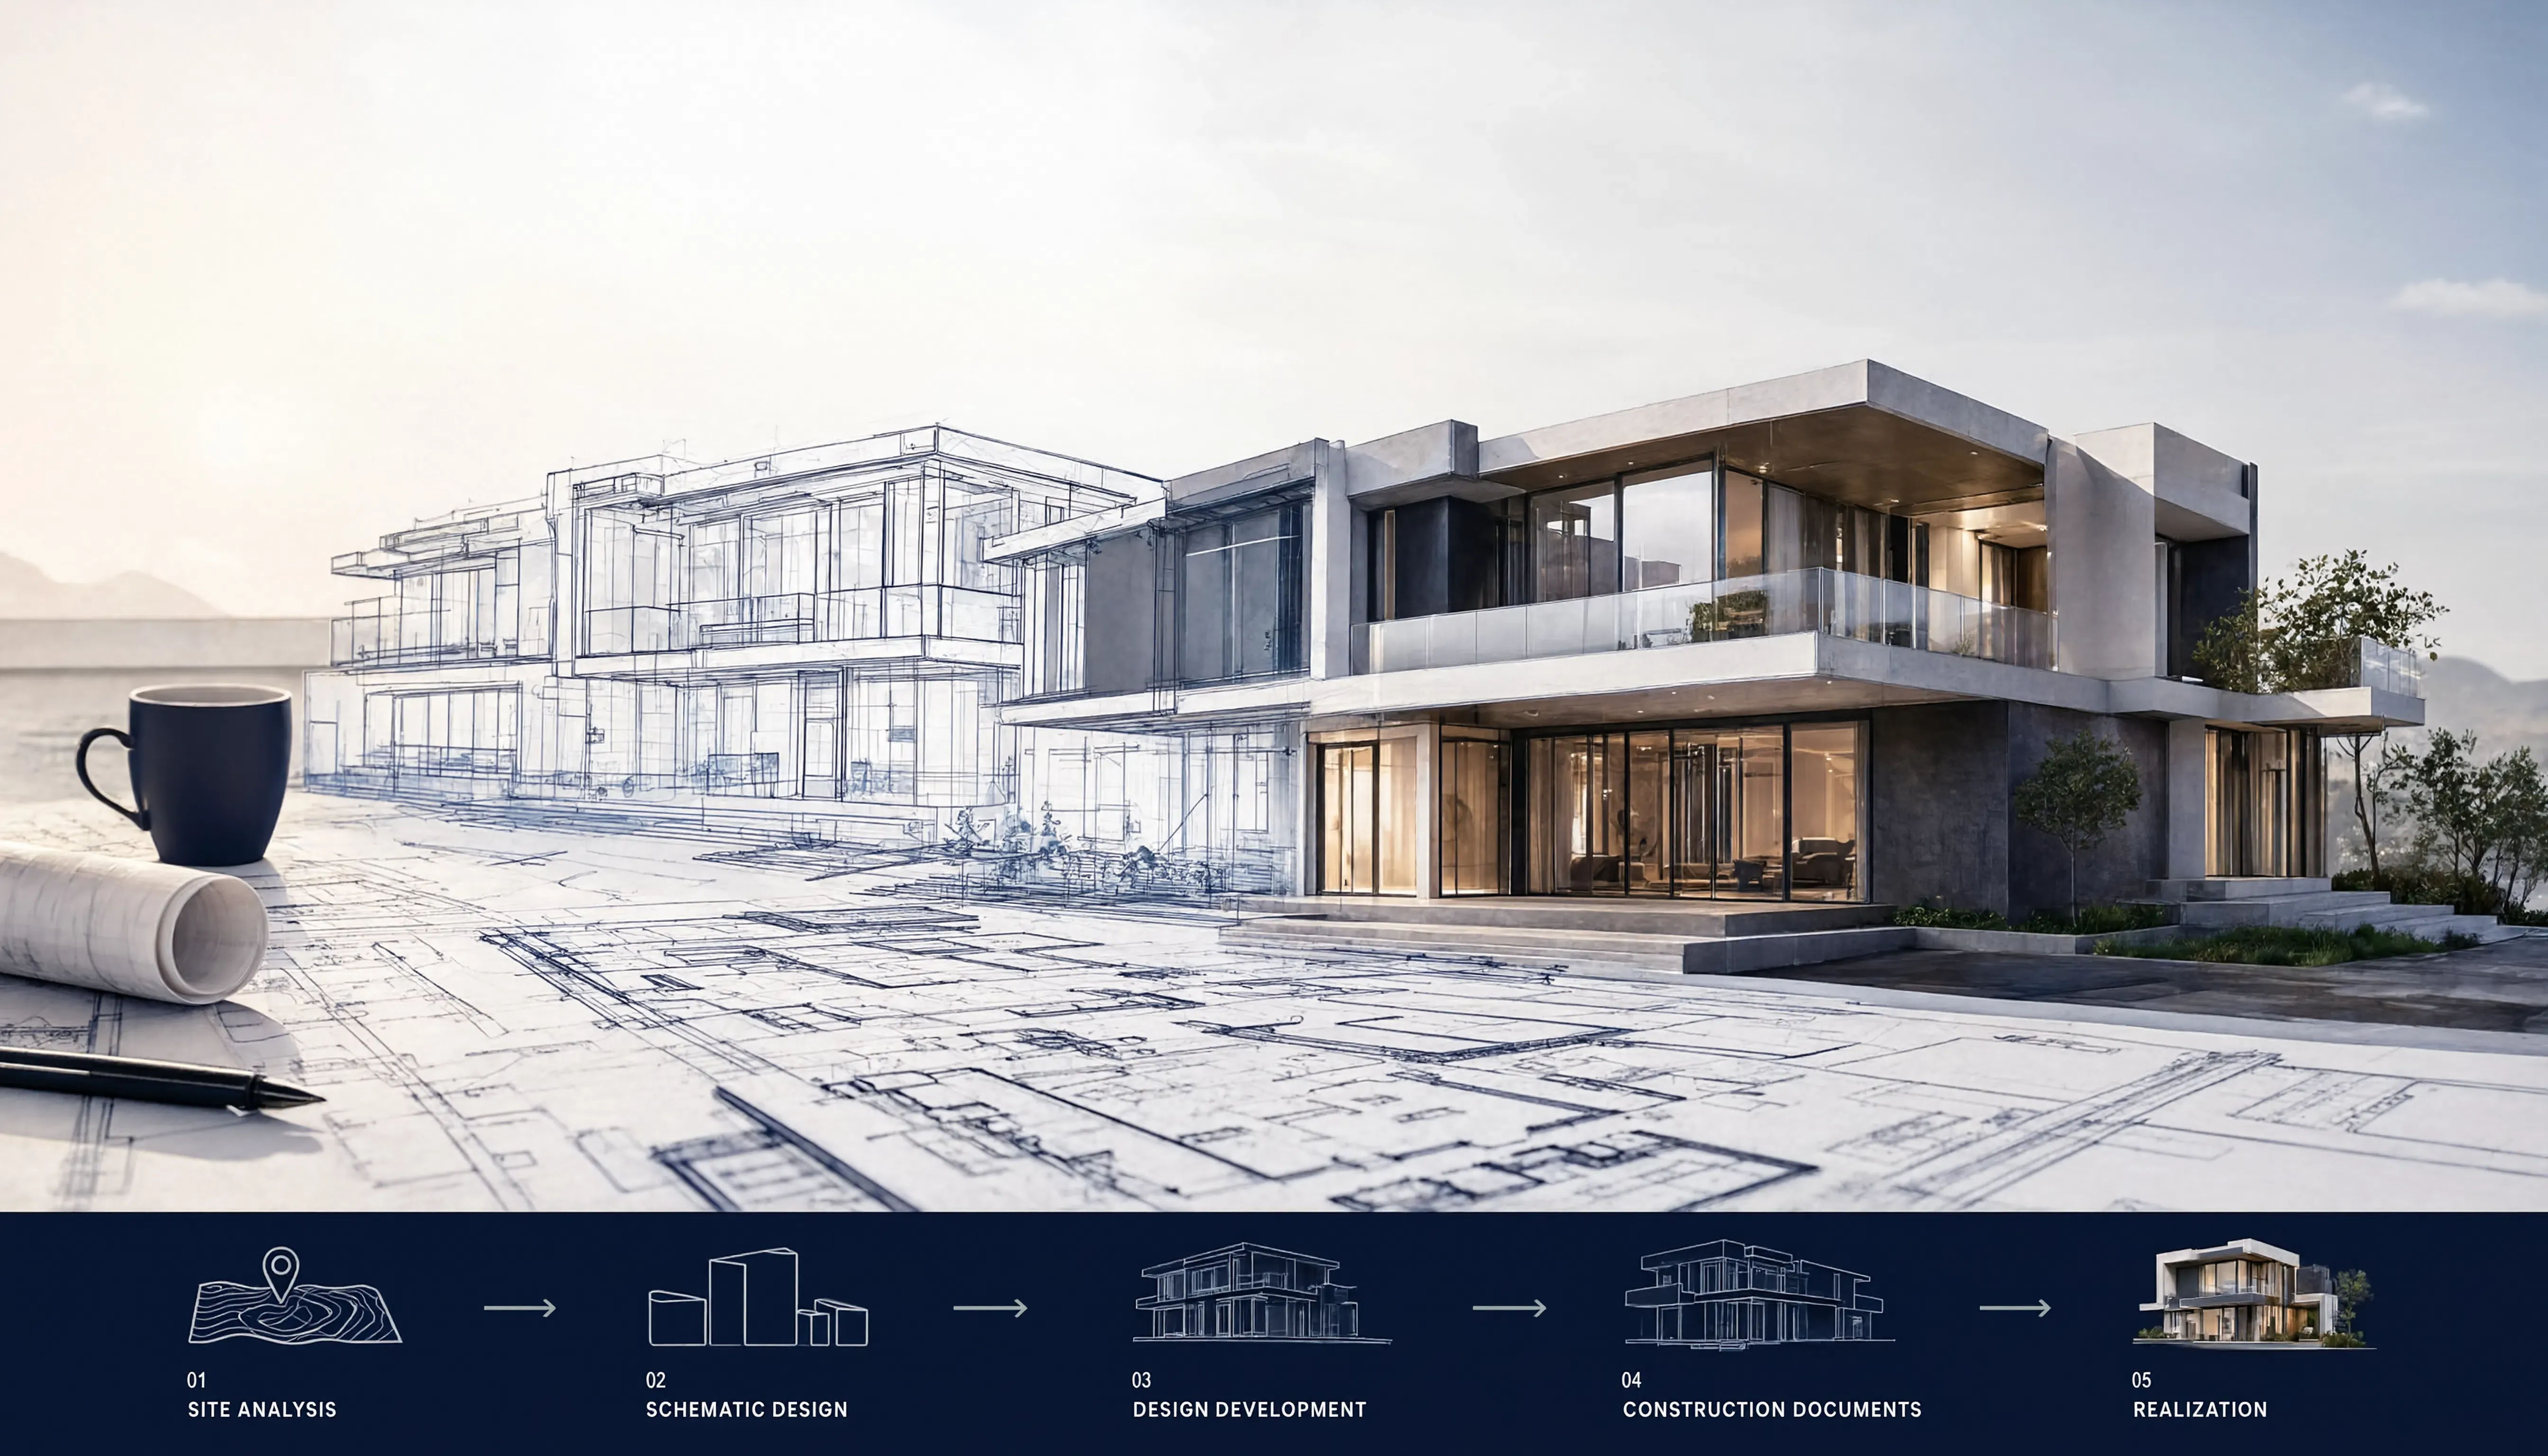
Building Design Explained: The Full Process from Site Analysis to Permit Submission
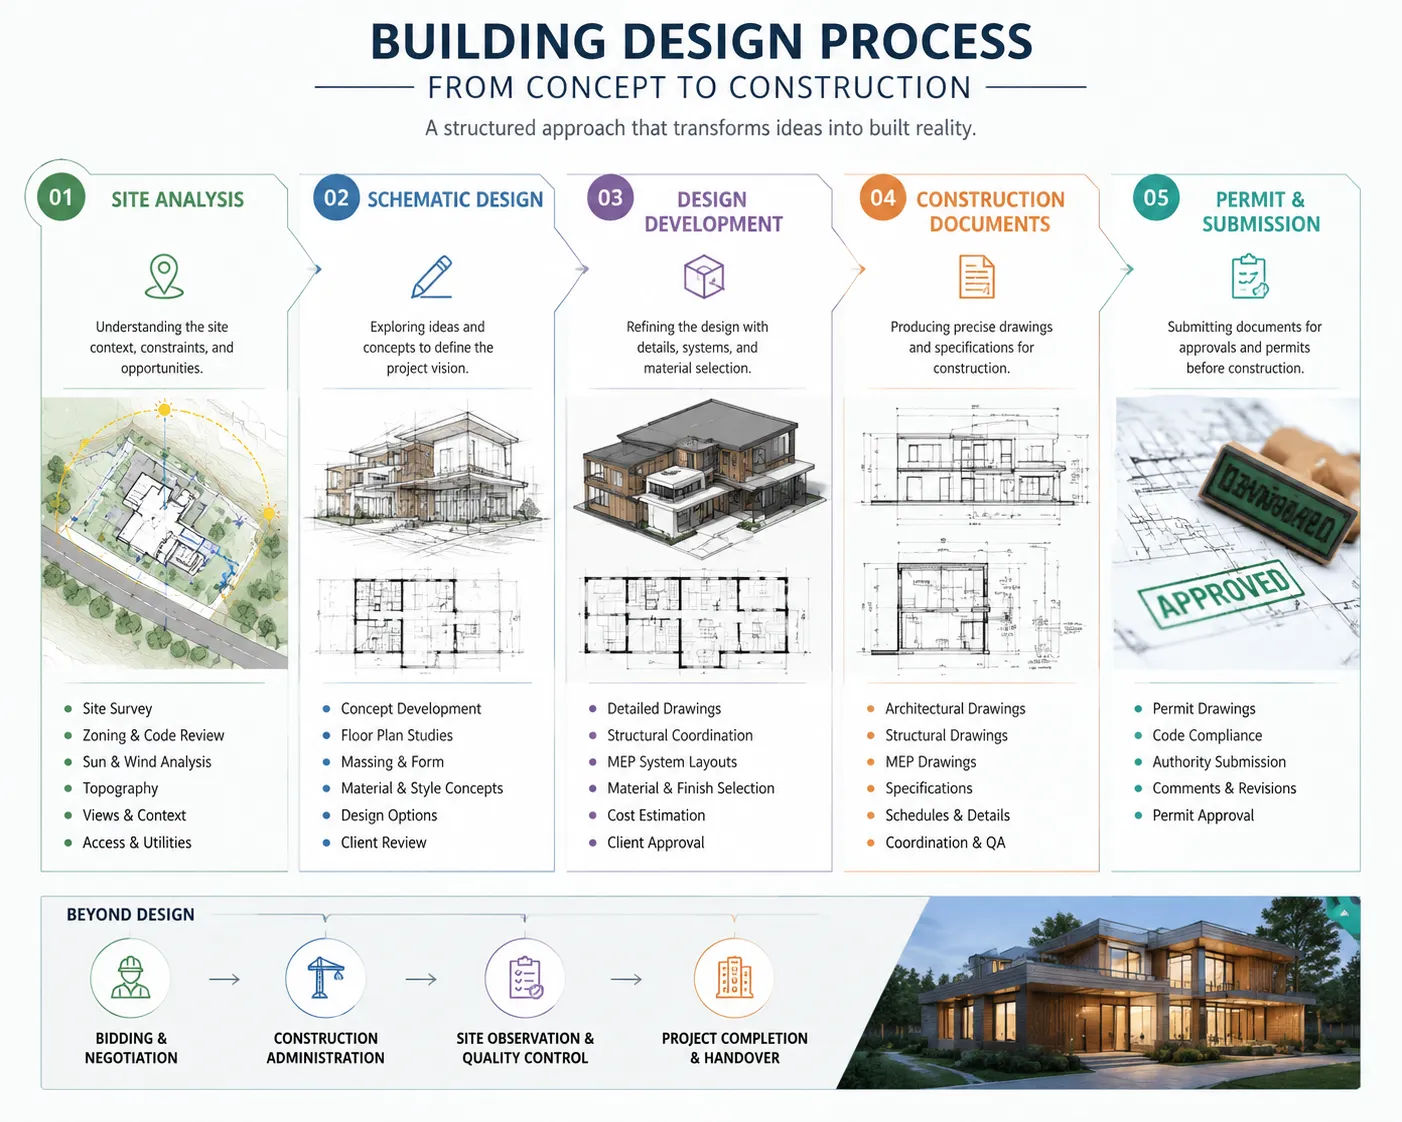
Building design is not a single activity. It’s a sequence of distinct phases, each dependent on what the previous phase established. Understanding that sequence — what happens when and why the order matters — is what separates clients who get through the process efficiently from those who get stuck, pay for re-work or start construction with incomplete drawings.
This is the full process, explained clearly.
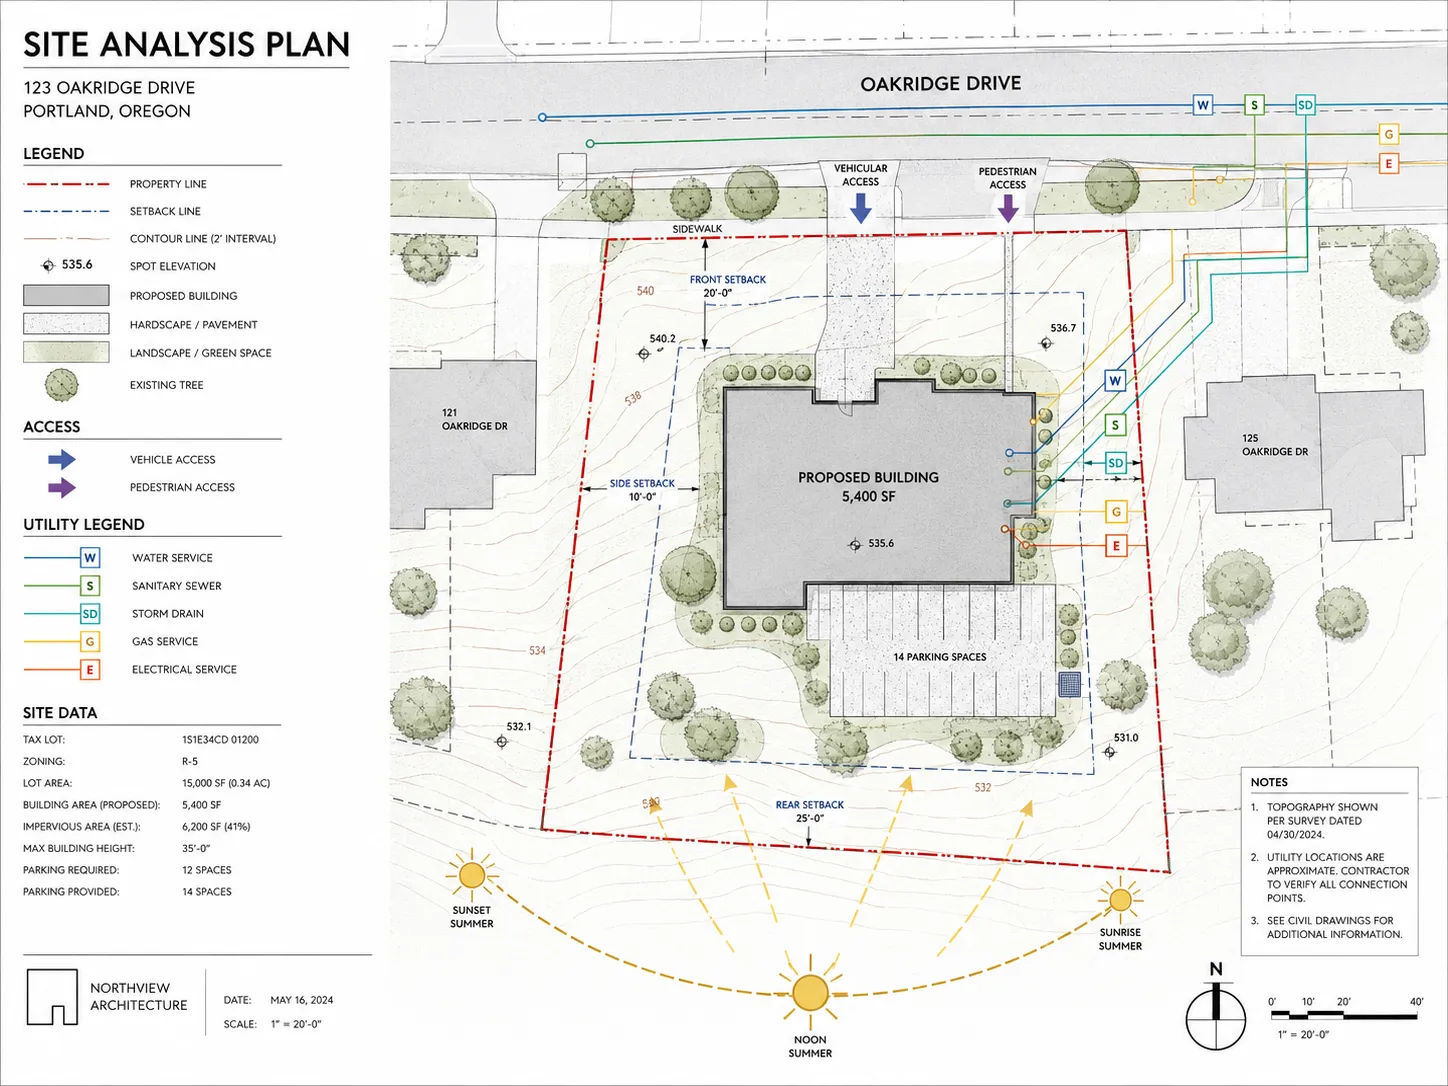
Phase 1: Site Analysis
Every building design starts with the site. Not with a concept, not with a floor plan sketch — with a rigorous analysis of what the site actually is and what it constrains.
What site analysis covers:
Zoning and entitlements. What is the site zoned for? What uses are permitted, what building height is allowed, what setbacks apply, what lot coverage maximum exists? In many municipalities, additional constraints come from overlay districts, coastal zones, historic districts or design guidelines. Understanding the regulatory envelope before designing prevents work that can’t be permitted.
Physical conditions. Lot dimensions (the legal survey, not an approximation), topography, solar orientation, prevailing winds, adjacent structures and their effects on light and privacy, utility connections and their locations.
Access and circulation. Where do people and vehicles enter? Where are existing curb cuts? Where are fire access requirements? These constraints shape building placement before a single space is designed.
Environmental factors. In jurisdictions with strong environmental review requirements, site analysis includes soil conditions, drainage, proximity to flood zones, tree surveys (protected trees can constrain building placement significantly) and others.
The product of site analysis is a clear understanding of the design envelope — not what the building will be, but what constraints bound what it can be. Designing without this information produces designs that regularly conflict with site realities, requiring expensive revision later.
Phase 2: Schematic Design
With the site envelope understood, schematic design begins — the first creative phase where the building concept takes rough form.
Schematic design is exploratory and deliberately imprecise. The goal is to test different organizational ideas at low cost, get client feedback on direction and arrive at a preferred concept before investing in detailed development. It’s the phase where major moves — where the building sits on the site, how spaces relate to each other, how the exterior massing works — are tested and decided.
Typical schematic design deliverables:
- Two or three rough floor plan options showing different organizational approaches
- Preliminary building massing sketches showing exterior form
- A project description for early conversations with the permit office or planning department when pre-application meetings are available
The most common mistake in schematic design is clients wanting to skip it or compress it. The logic — “we know what we want, let’s just draw it” — doesn’t account for the value of testing. Major design changes in schematic design take hours to revise. The same changes in construction documents take weeks and cost thousands. Spending time in schematic design is insurance against expensive documentation revision.
The output: one preferred schematic direction that the client has approved and that everyone agrees will be developed further.
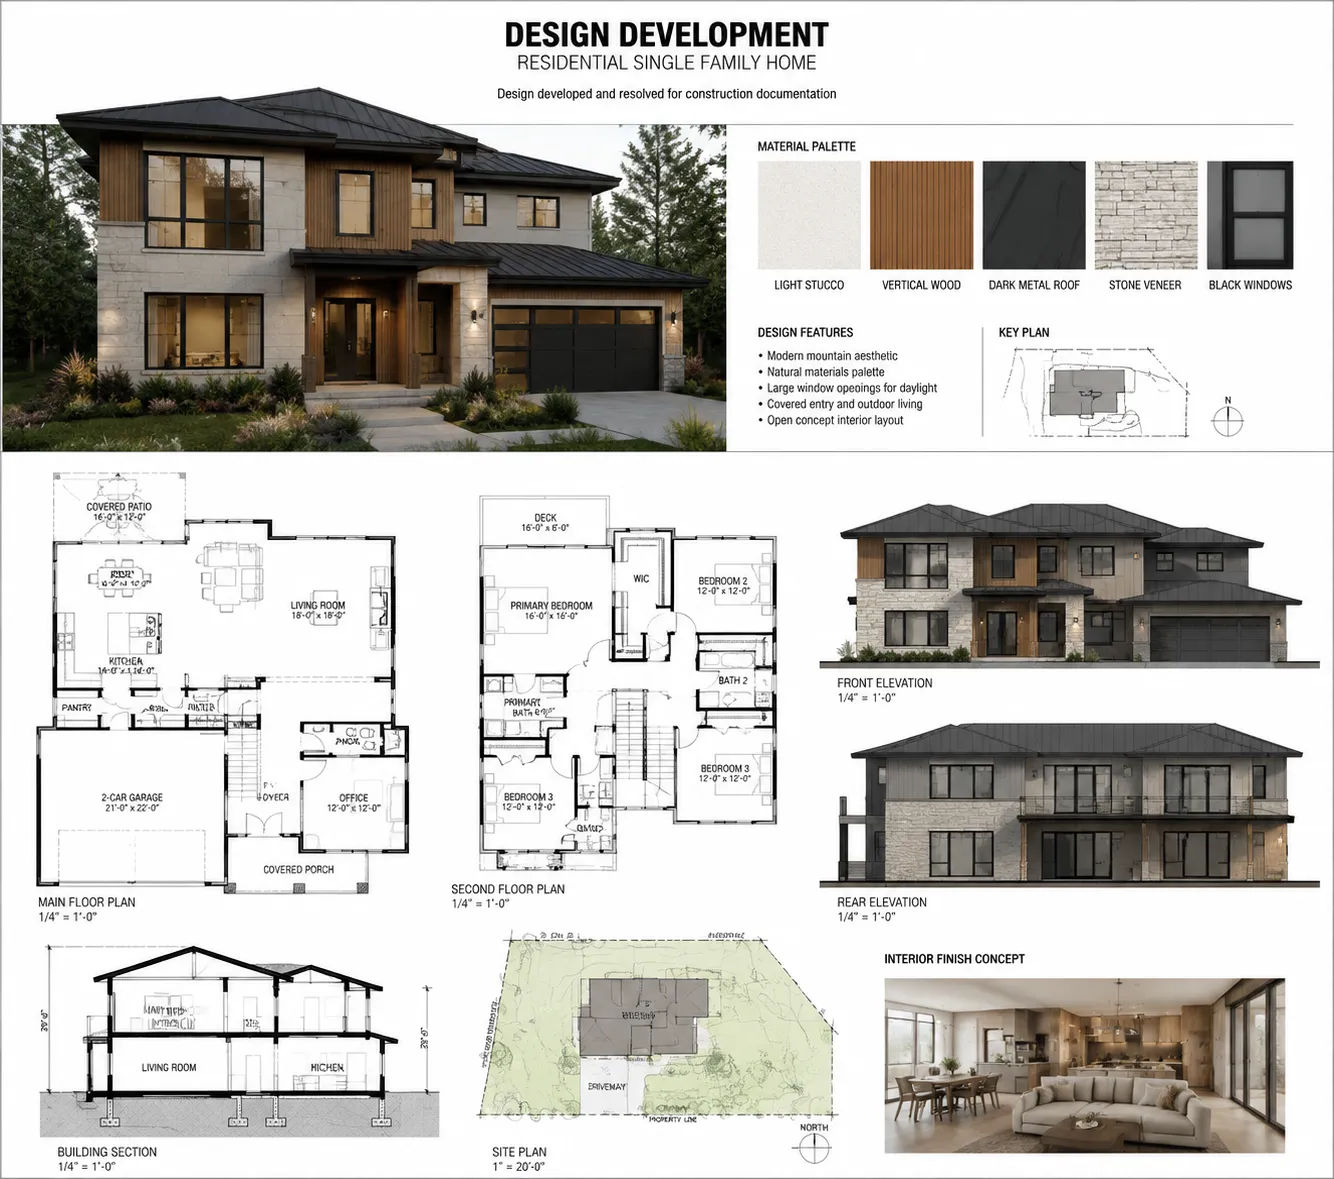
Phase 3: Design Development
Design development is where the approved schematic concept becomes complete and specific.
Every room gets its final dimensions. The structural system is selected and worked out with the structural engineer. Materials and assemblies are decided. Exterior design elements — window sizes, roof forms, material transitions — are resolved. MEP systems are laid out in coordination with the mechanical, electrical and plumbing engineers.
By the end of design development, the building should be completely resolved. There should be no “we’ll figure that out later” remaining — because things left unresolved in design development get resolved in the field, at contractor expense, often producing results that don’t match the design intent.
BIM modeling is often introduced in this phase for complex projects — using a 3D model to detect conflicts between structural and MEP systems before they show up in drawings or construction.
The output: a fully resolved design set that documents exactly what will be built, at sufficient scale and completeness to begin construction documents.
Phase 4: Construction Documents
This is the longest phase and the one that most directly determines project success.
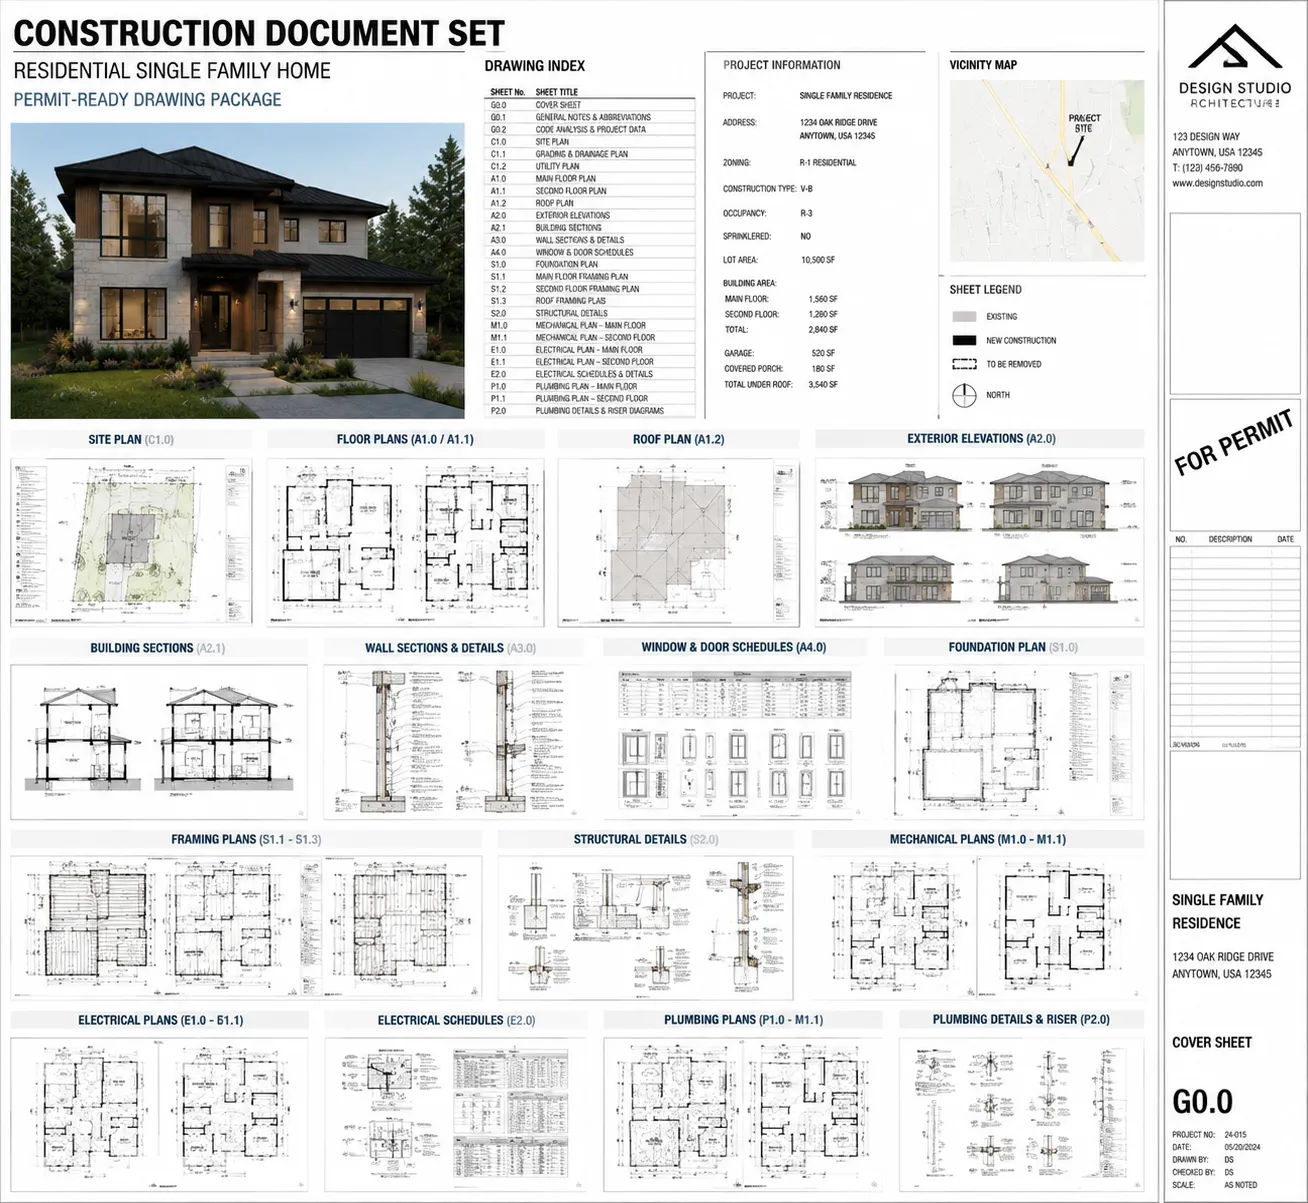
Construction documents translate the resolved design into precise, detailed, annotated technical drawings — what contractors price from, what the permit office reviews and what construction teams build from. The completeness and accuracy of construction documents determines:
- Whether the permit package is approved on first submission or comes back with comments
- Whether contractor bids are accurate or loaded with contingency
- Whether construction proceeds without field questions or is interrupted by RFIs
- Whether the finished building matches the design intent
Construction documents for a typical building include:
Architectural: Complete dimensioned floor plans for each level, all four exterior elevations, building sections, wall sections, construction details, door and window schedules, finish schedule, site plan, roof plan, code compliance summary, energy documentation (Title 24 in California; IECC in most other states), general notes.
Structural: Foundation plan, structural framing plans, connection details, structural general notes — produced by the structural engineer of record and coordinated with architectural drawings.
MEP: Varies by jurisdiction and project complexity. Simple residential projects may need only architectural-level MEP layout; commercial and multi-family projects typically require full engineering drawings from licensed MEP engineers.
Phase 5: Permit Submission
The completed package — organized, numbered, indexed and formatted to the jurisdiction’s requirements — is submitted to the building department for review.
What happens next is jurisdiction-dependent:
Over-the-counter review (available in some jurisdictions for simple project types): permit issued immediately or within days.
Formal plan review (most commercial and multi-unit projects): packages are assigned to plan checkers, reviewed against the applicable building code, zoning code, energy code and any other applicable regulations and comments are issued. Common review times: two to eight weeks for initial review, depending on jurisdiction and project backlog.
Comment response: When comments are received, the design team addresses them — either by revising the drawings or providing written response justifying the existing design. The revised package is resubmitted and the cycle continues until the permit is issued.
Each resubmission in a backlogged jurisdiction can add two to six weeks. Getting the initial submission right — a complete package that anticipates known comment categories — directly reduces total permit time.
What Controls How Long the Process Takes
Client decision-making speed. This is the most variable factor in the timeline. Projects where clients make decisions at key milestones move smoothly; projects where decisions are delayed cascade those delays through every subsequent phase.
Schematic design cycles. If a client approves the schematic concept in two rounds of review, development can begin quickly. If schematic design goes through five or six rounds without convergence, the entire schedule slides.
Consultant availability. Structural and MEP engineers have their own schedules. Bringing them on board early and establishing coordination milestones prevents the common situation where architectural drawings are complete and waiting for engineering.
Jurisdiction complexity. A simple permit in a small municipality might move through review in one week. A complex project in Los Angeles or New York might take eight to twelve weeks for initial review, with multiple comment rounds.
Building Design Services from Skyline Design Group
Skyline Design Group supports building design projects at the documentation stage — taking resolved designs through construction documents and permit submission for residential, multi-family and mixed-use projects in New York, Los Angeles and beyond.
If your project is approaching the documentation phase, a project scope review will establish what’s needed and how long it will take.
Request a project scope review to get started.

